If you use the theme default categories and actions – the retina images will be automatically loaded from wpestate/css/css-images
If you add custom new pins for edited/new categories or actions from theme options, you MUST also add the retina version of your pins via wp-admin – media – add image
1. Add pin image (jpg or png) in Theme Options – Pin Management (Ex you add an image with name sale.jpg)
NOTE: demo pins have the width/height set in Google Maps API code. Your images should be as tall and wide as demo images 44 x 48.
2. Create the retina ready version of that image or use one of the theme demo pin images as examples. The pins images from themepack/pins_and_other_png are vector images. You can edit colors/icons in any vector editing tool, such as Fireworks from adbose
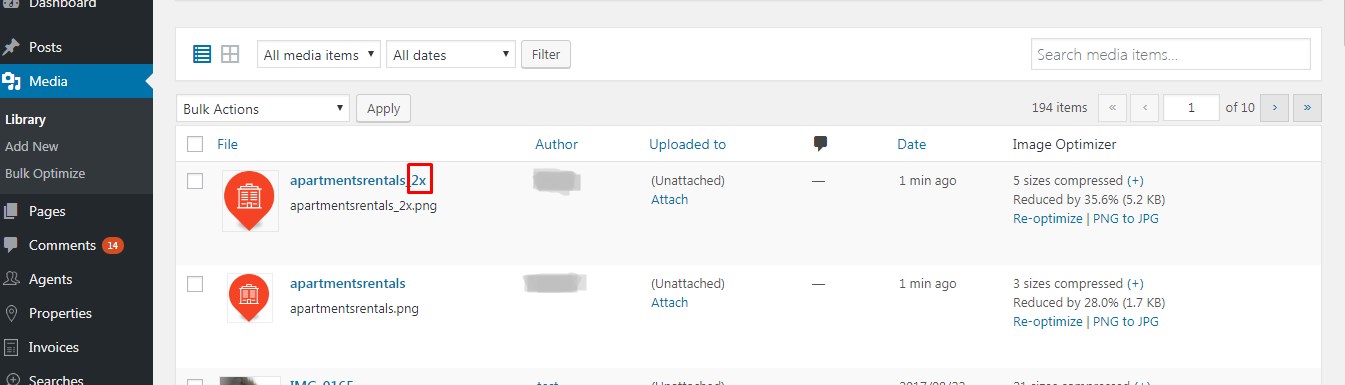
The retina image you create must have the _2x extension after image name. Example: sale.jpg should have a retina pin named sale_2x.jpg. Size should be doubled: 88 x 96
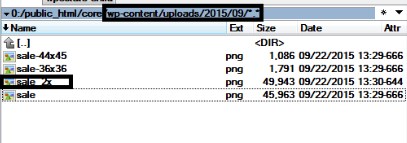
3. Go to Media – add new and upload the retina pin version. It is important that both files (retina and non retina) are in the same Uploads folder (same year / month folder) as non retina version.
OR
Connect via FTP and go to wp-content/uploads/year/month folder (same year/month as when you upload the non retina version from wp-admin). Copy sale_2x.jpg to that folder.